Writing an image to the eMMC
Revision as of 05:04, 30 August 2018 by Csjamesdeng (talk | contribs)
Writing the image to eMMC by PhoenixUSBPro.
- Follow this guide to install the eMMC module to the board.
- Visit FTP server with user 'ftp' (password: lindeni) and download the PhoenixUSBPro (note: Windows only).
- Unzip the files to a local directory.
- Unzip the image to a local directory.
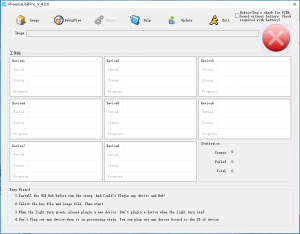
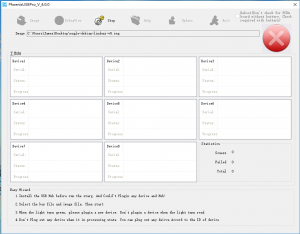
- Open PhoenixUSBPro.
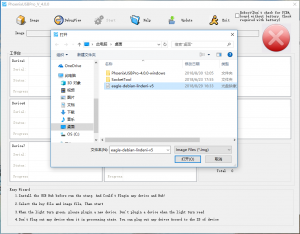
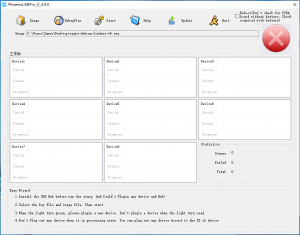
- Click Image button and select the uncompressed image.
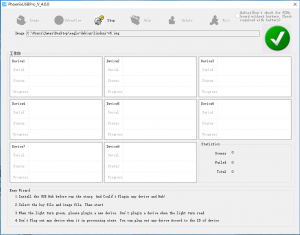
- Click Start button.
- Waiting for PhoenixUSBPro is ready.
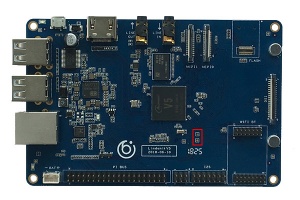
- Short circuit these two test points by tweezers or wire.
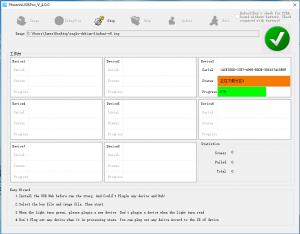
- Use a Micro USB cable to connect the board to the computer. Do not short circuit these two test points when you see the follow window again.
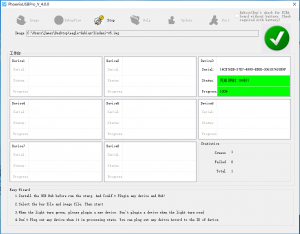
- Waiting for writing process start. You'll see a progress bar that tells you how much is left to do.
- It takes about six minutes. Once complete, Use the Power Supply and Micro USB cable to connect the board instead.
